Home / Shop / Produce & Commodity Protection / Grain Protection / Grain Bunker Package | Grain Cover
Determine your desired capacity based on your grain storage requirements.
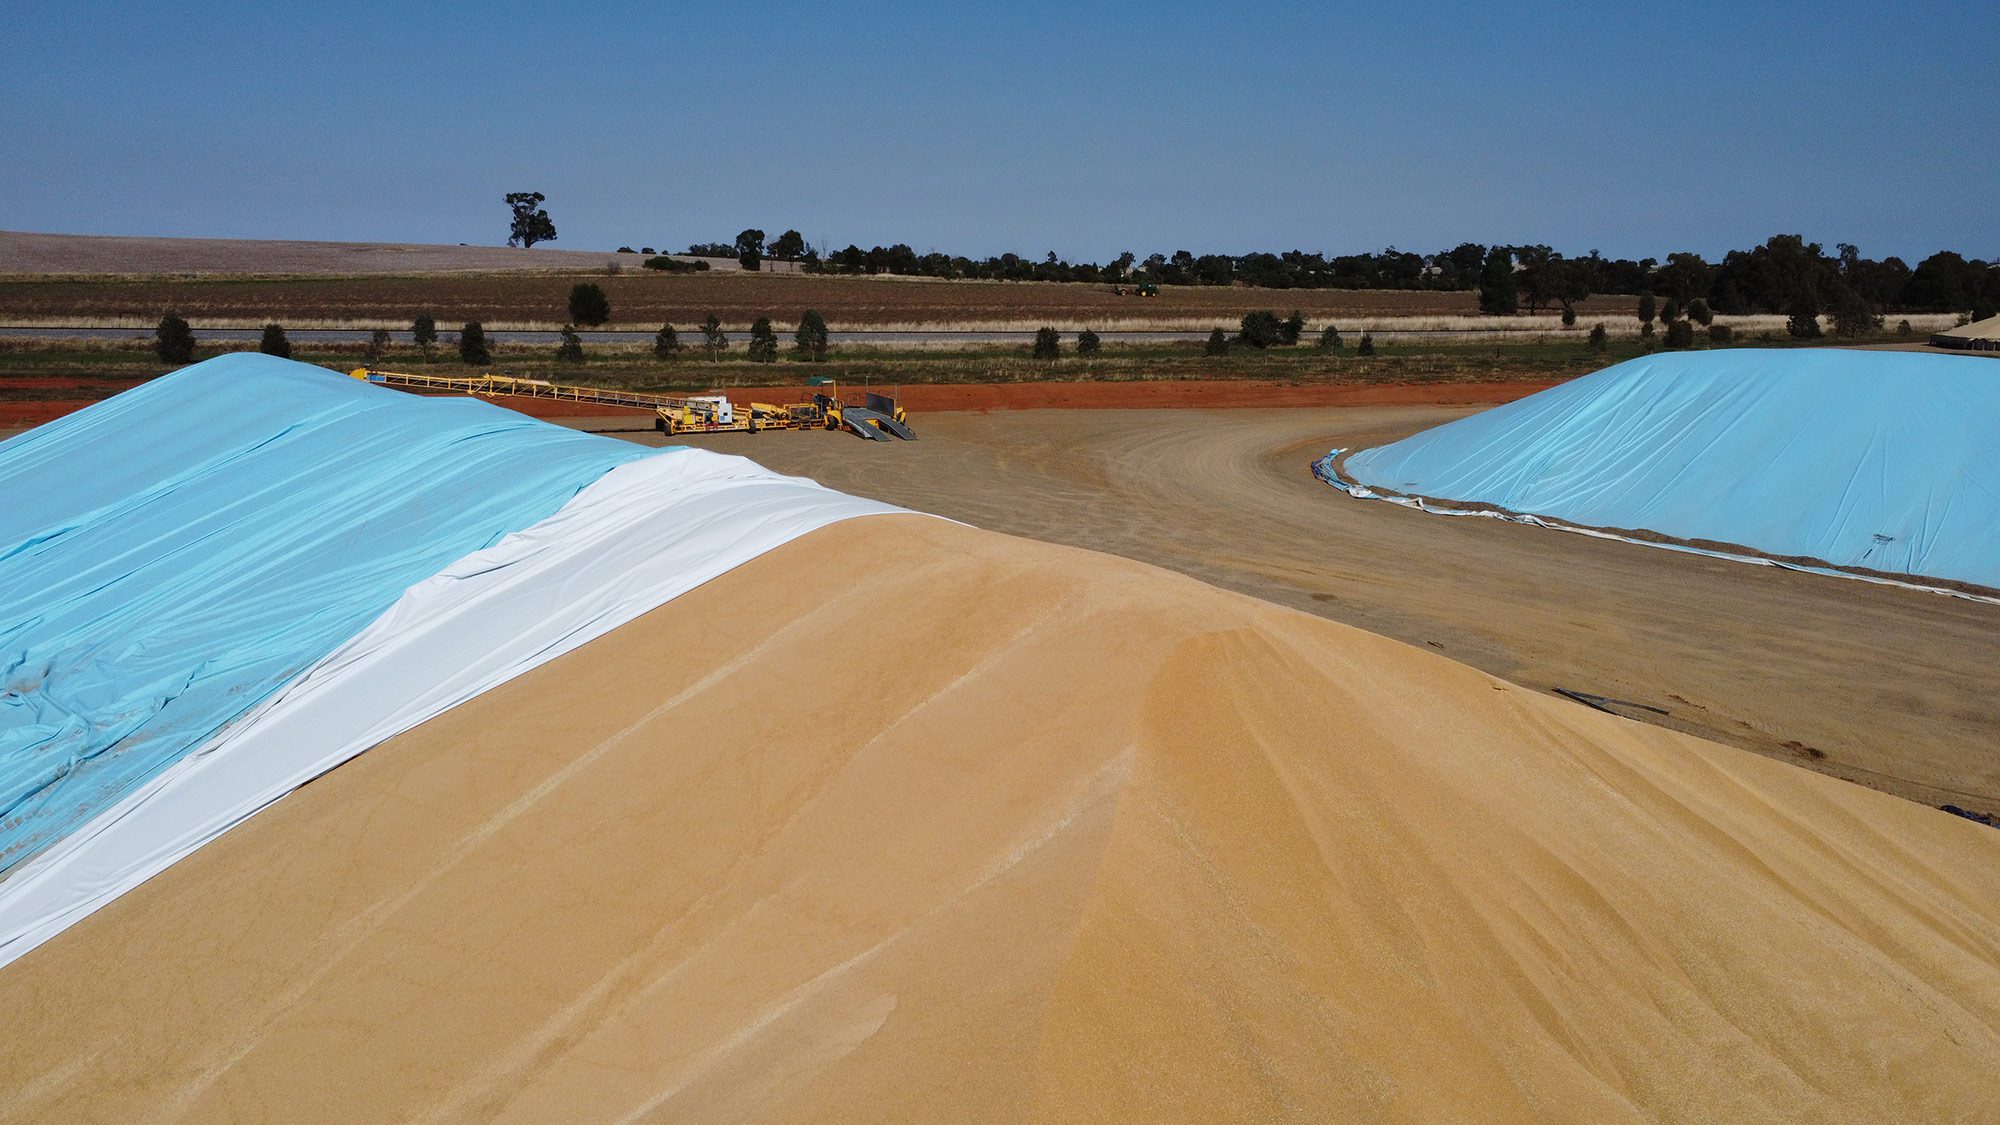
Two factors will determine how wide you can build your bunker; the angle of repose for the grain you want to store, and your auger size.
Minimum auger size for Wheat, Barley, Sorghum, Chickpeas, Rye and Soya Beans
Minimum auger size for Rice and Oats
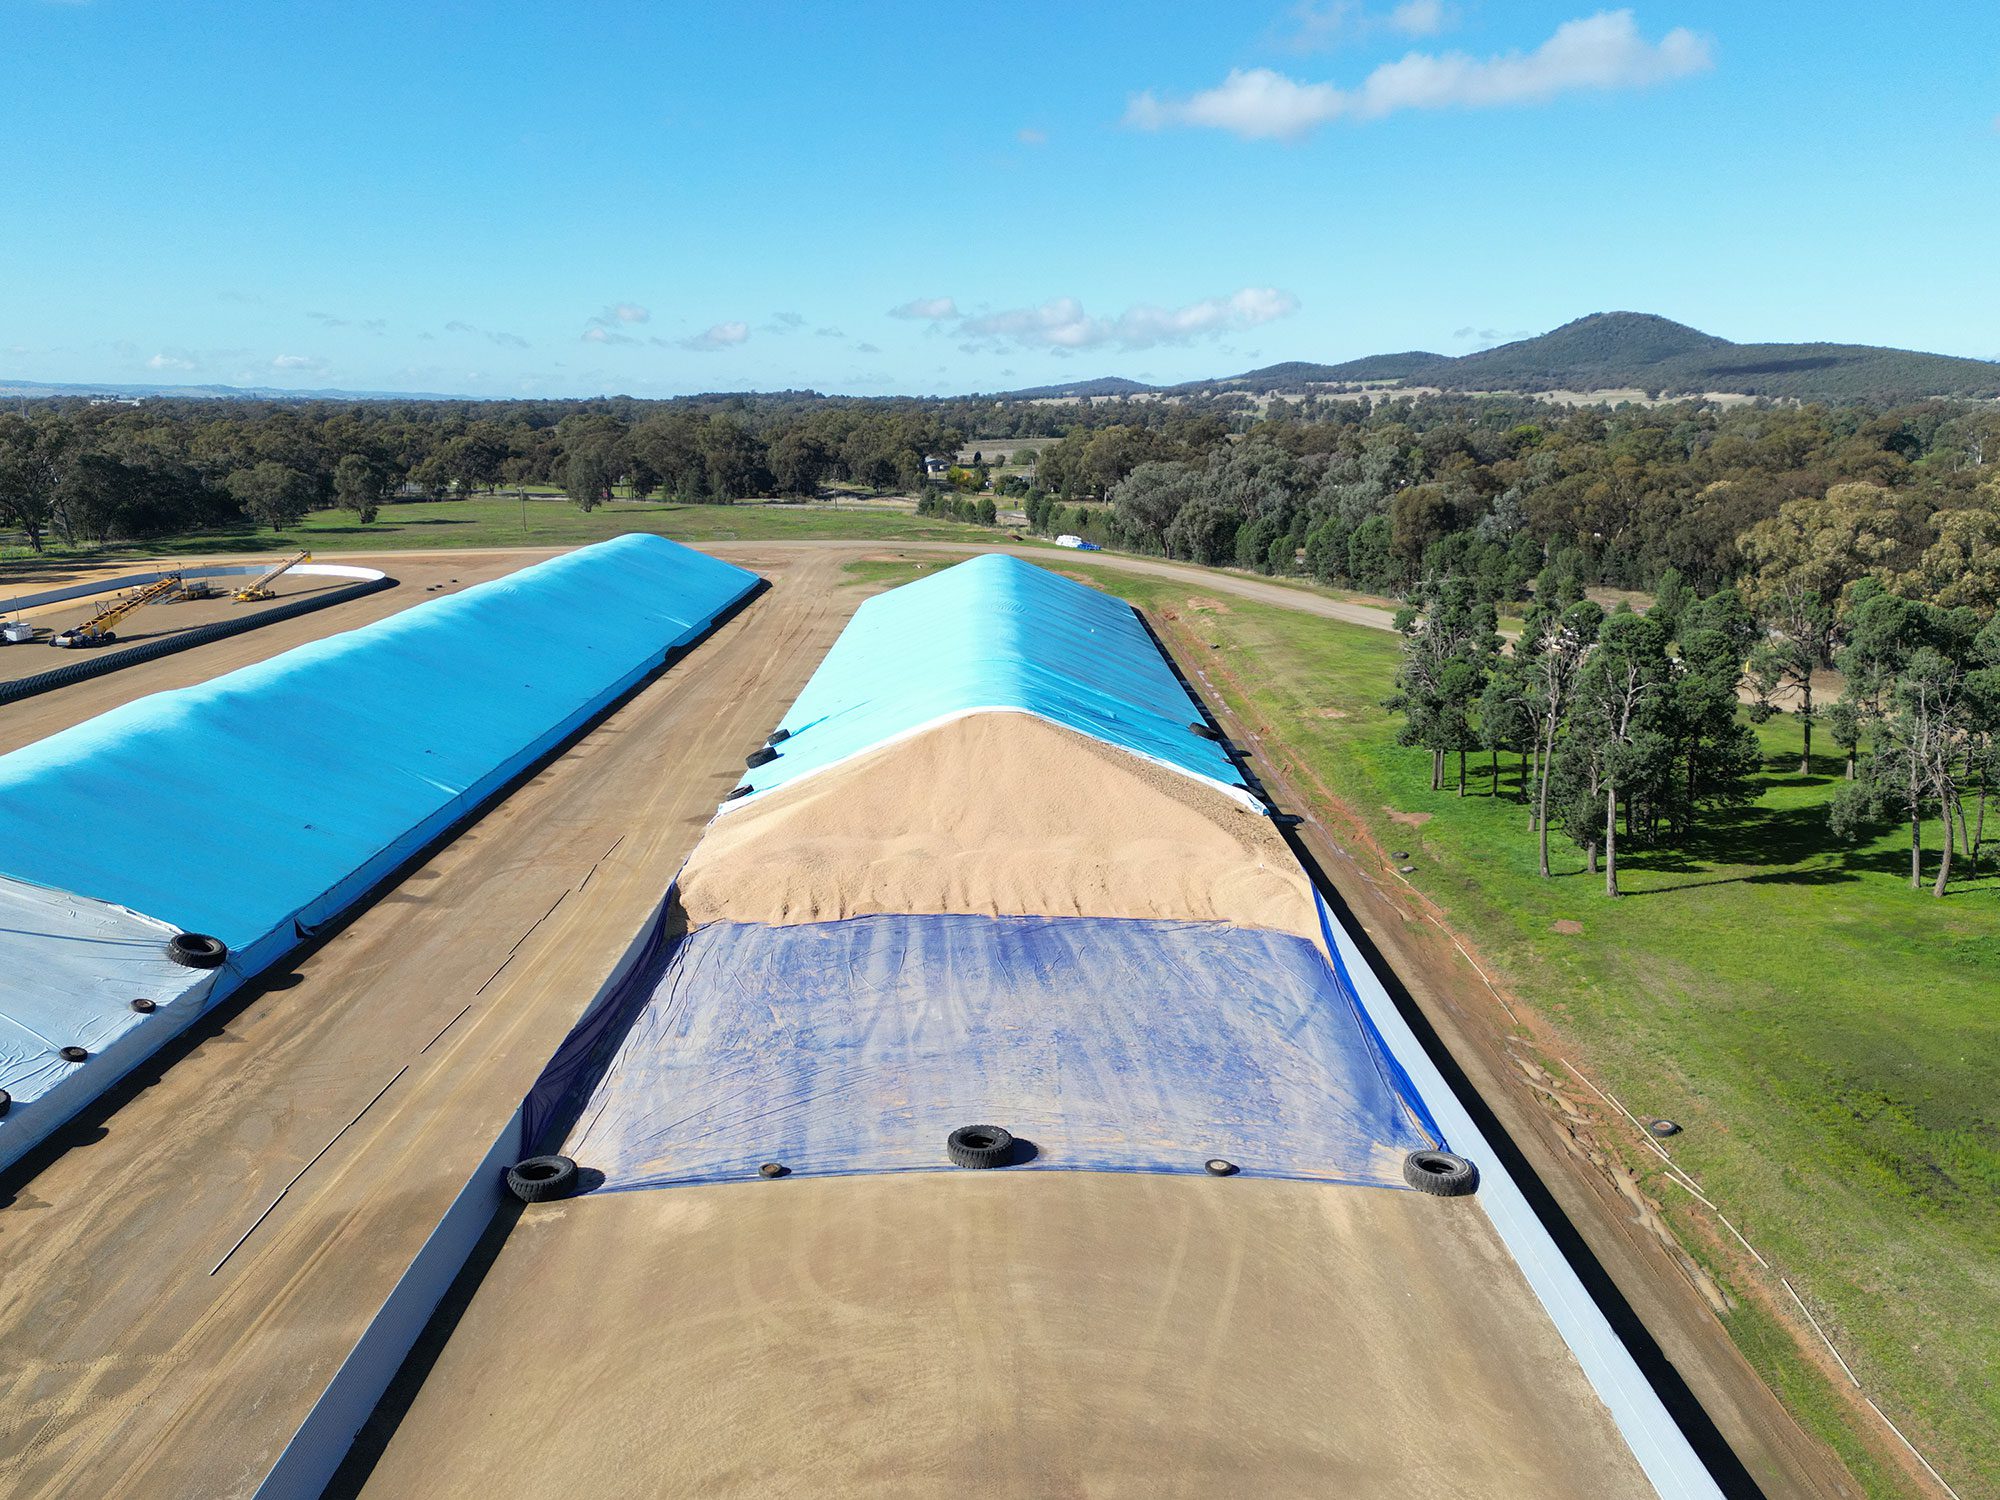
Here are a few points to help select the right covers for your grain bunker.
In order to kill grain pests at all stages of their life cycle, fumigants need to reach, and be maintained at, a concentration possible only in a gas-tight storage. That is why it is important to get a good seal all around your bunker to provide suitable conditions for fumigation to be
effective.
For best results with fumigation it is recommended to talk to a licensed fumigator who will know the most current and effective fumigation methods. Licenced/commercial fumigators will have monitoring equipment to measure gas concentration throughout the fumigation and venting process.
Polytex can weld fumigation zips into your top tarp for easy access and proper ventilation during the fumigation process. Our fumigation zips are waterproof, gas tight and air tight providing a secure seal. They can also be used for extracting grain samples for testing.
The first and most essential method to maintain grain quality is to practice good farm hygiene to reduce overall numbers of insects and pests on your property.
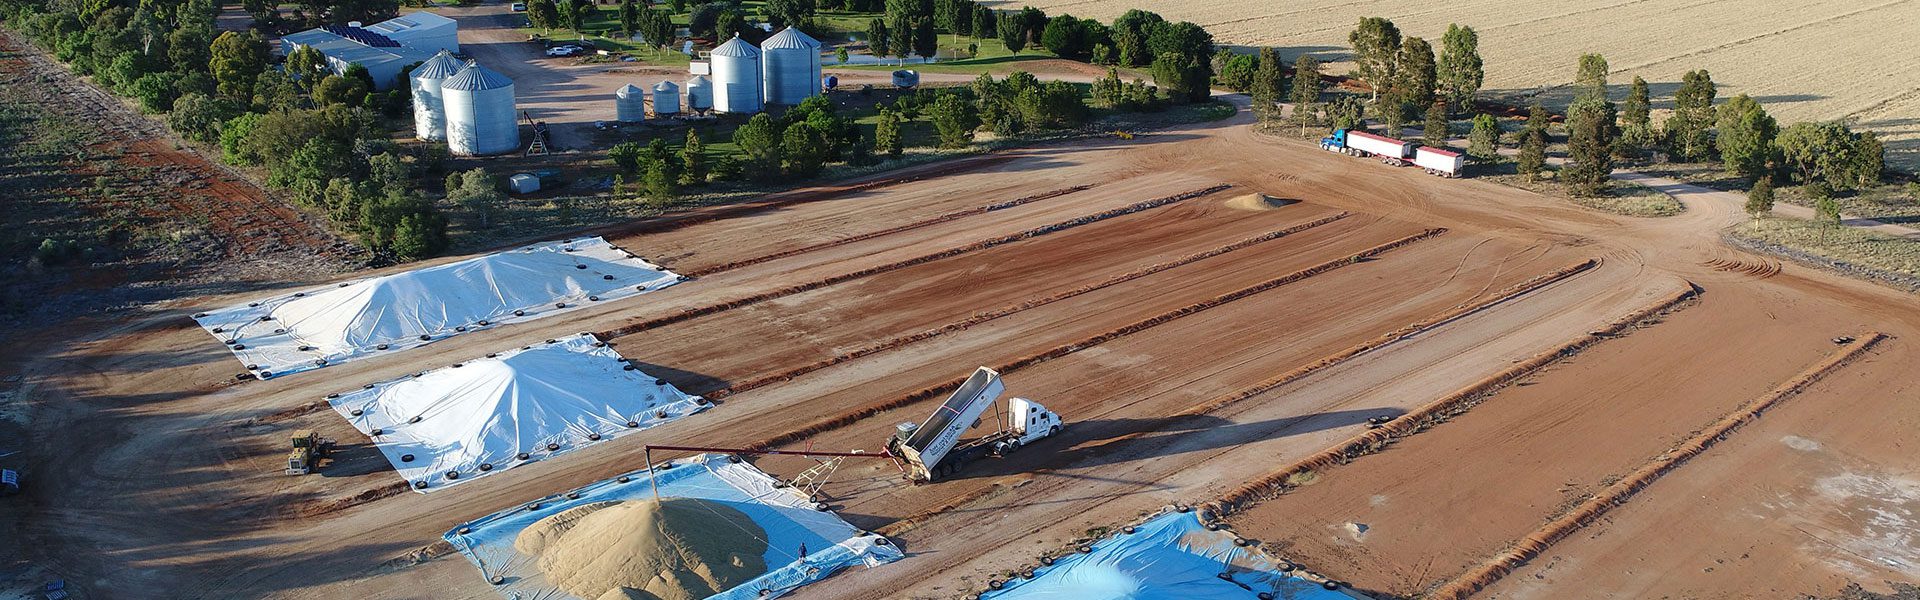
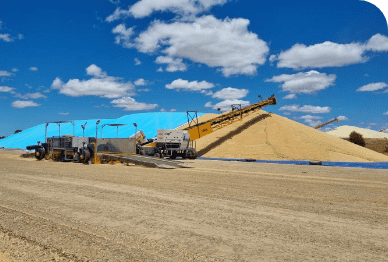
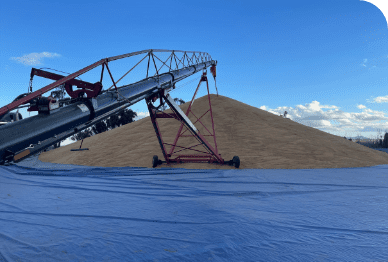
Common methods of outloading include a mobile auger with a cross sweep or bulk-handling buckets on front end loaders or telehandlers to fill direct into trucks.
For more detail on the above points, download a FREE copy of our Grain Bunker Construction & Storage Guide. It provides insights into best practices and expert advice from Australian Farmers for successful bunker storage.
$3,913.80 – $50,332.80
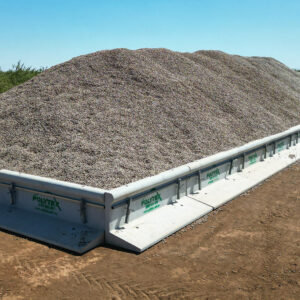
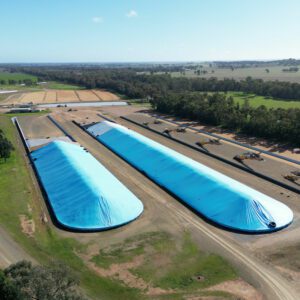
On-farm grain bunkers are a convenient and cost-effective storage option for on-farm grain storage. They are often used as a risk-management strategy by farmers to minimise the impact of adverse weather events and variable market conditions. Using grain covers presents many opportunities for farmers such as:
To meet the needs of Australian farmers, Polytex can supply an ‘On-Farm Grain Bunker Package’ and Grain Cover for your preferred storage capacity.
In the below options, select your desired storage capacity, securing option, top tarp fabric preference, and fumigation zip option and we will provide you with everything you need to set up your grain bunker.
Grain Bunker Packages include:
Our on-farm grain storage consultants can provide advice and best practices for everything you need to know from site preparation through to out-loading and tarp storage.
For any questions or for larger capacity Grain bunker packages please reach out today, the team at Polytex are willing to help!
1300 059 003
Determine your desired capacity based on your grain storage requirements.
Two factors will determine how wide you can build your bunker; the angle of repose for the grain you want to store, and your auger size.
Minimum auger size for Wheat, Barley, Sorghum, Chickpeas, Rye and Soya Beans
Minimum auger size for Rice and Oats
Here are a few points to help select the right covers for your grain bunker.
In order to kill grain pests at all stages of their life cycle, fumigants need to reach, and be maintained at, a concentration possible only in a gas-tight storage. That is why it is important to get a good seal all around your bunker to provide suitable conditions for fumigation to be
effective.
For best results with fumigation it is recommended to talk to a licensed fumigator who will know the most current and effective fumigation methods. Licenced/commercial fumigators will have monitoring equipment to measure gas concentration throughout the fumigation and venting process.
Polytex can weld fumigation zips into your top tarp for easy access and proper ventilation during the fumigation process. Our fumigation zips are waterproof, gas tight and air tight providing a secure seal. They can also be used for extracting grain samples for testing.
The first and most essential method to maintain grain quality is to practice good farm hygiene to reduce overall numbers of insects and pests on your property.
Common methods of outloading include a mobile auger with a cross sweep or bulk-handling buckets on front end loaders or telehandlers to fill direct into trucks.
For more detail on the above points, download a FREE copy of our Grain Bunker Construction & Storage Guide. It provides insights into best practices and expert advice from Australian Farmers for successful bunker storage.
Polytex Bunker Covers or Bunker Tarps can include tarp stenciling to your specifications

Polytex has a vast network of recommended & competent carriers Australia wide.
Polytex uses only first quality industrial fabrics for the manufacture of all products; well-known brands including Canvacon, Tarpee & Landmark variations

Access our calculator to get a comprehensive guide to planning and designing your grain storage.